
Simple, flavorful, and ready without soaking.
Pressure Cooker Pinto Beans are a reliable staple that belong in every kitchen. Tender, creamy, and packed with savory flavor, they cook in a fraction of the time thanks to the pressure cooker — making them perfect for easy weeknight meals and meal prep.
Why It Works
- High pressure cooks dry beans quickly — no soaking required.
- Onion, garlic, and cumin create a simple but deeply flavorful base.
- The beans turn creamy inside while holding their shape.
It’s an affordable, versatile recipe that works for everything from tacos to rice bowls.
Recipe
Ingredients
- 1 pound dry pinto beans, rinsed and picked over
- ½ medium onion, chopped
- 2 cloves garlic, smashed
- ¼ cup fresh cilantro (optional)
- 1 teaspoon cumin
- 1 teaspoon salt (plus more to taste)
- 4 cups water or broth
Instructions
- Add to Pressure Cooker
Place beans, onion, garlic, cilantro, cumin, salt, and water (or broth) into the pressure cooker or Instant Pot. - Cook
Secure lid and cook on high pressure for 40 minutes. - Release Pressure
Allow pressure to release naturally before opening the lid. - Finish
Stir beans, taste, and adjust seasoning as needed.
Remove cilantro stems if desired before serving.
Serve over brown rice, tuck into tacos or burritos, or enjoy as a hearty side dish.
Getting Kids Involved
Ages 3–5
- Help rinse beans in a colander.
- Add ingredients to the pot.
Ages 6–9
- Measure spices.
- Chop cilantro with supervision.
Ages 10+
- Help read and set pressure cooker settings.
- Taste and adjust seasonings.
Cooking beans from scratch is a great way to show how simple ingredients turn into something delicious.
Pro Tips, Meal Prep & Time Savers
- No soaking needed: The pressure cooker makes it easy — dry beans cook up tender every time.
- Flavor boost: Add smoked paprika, chili powder, bay leaves, or a splash of lime juice.
- Thicker beans: Mash a few beans and stir back into the pot for a creamier texture.
- Storage: Refrigerate for up to 5 days.
- Freezer-friendly: Cool completely and freeze in portions for up to 3 months.
Budget-friendly. Hearty. Always dependable.
A simple recipe that earns a permanent spot in the weekly rotation.
Print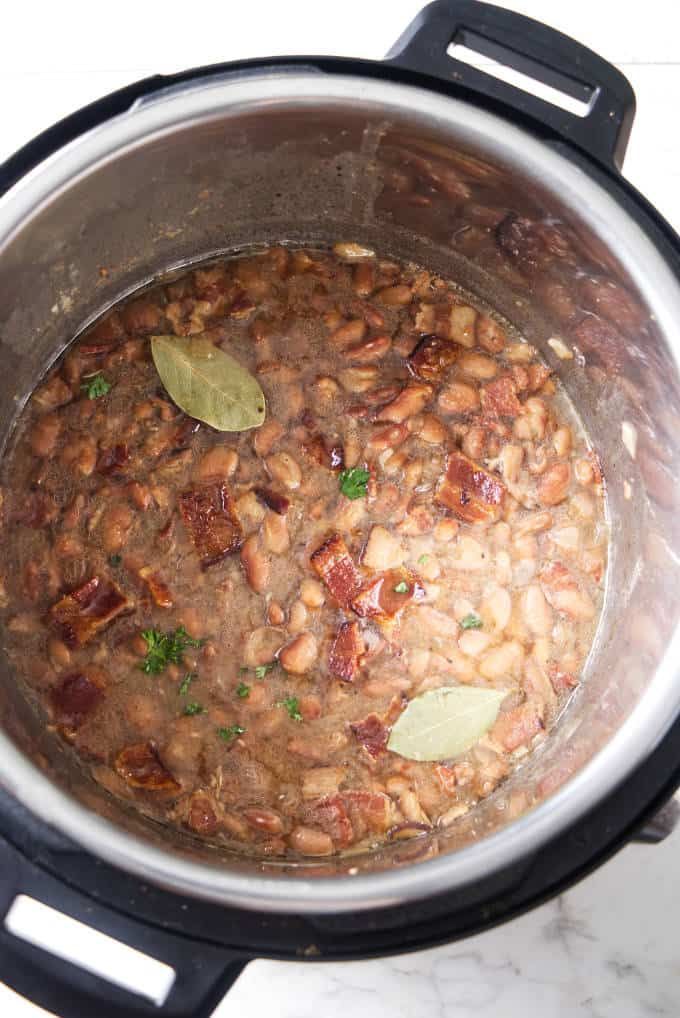
Pressure Cooker Pinto Beans
These Pressure Cooker Pinto Beans are one of those staple recipes that make life easier. They’re quick, affordable, and packed with flavor—and thanks to the pressure cooker, there’s no soaking required. Serve them over brown rice for a simple meal, use them in tacos or burritos, or enjoy them as an easy, protein-packed side dish any night of the week.
Ingredients
-
Dry pinto beans: Rinsed and picked over to remove any debris
-
Onion & garlic: Add a savory, flavorful base
-
Cilantro stems: Infuse the beans with subtle freshness as they cook
-
Water or broth: Use broth for extra richness if desired
-
Kosher salt & cumin: Simple seasonings that bring everything together
Instructions
- Add all of the ingredients to your pressure cooker and secure the lid according to the manufacturer’s instructions. Cook on high pressure for 40 minutes.
- Once cooking is complete, allow the pressure to release fully before opening the lid. Stir, taste, and adjust seasoning if needed before serving.
Notes
-
No Soaking Needed: The pressure cooker cooks dry beans perfectly in about 40 minutes—skip the overnight soak entirely.
-
Customize the Flavor: Add smoked paprika, chili powder, bay leaves, or any spices you love.
-
Great for Leftovers: Store beans in an airtight container in the fridge for up to 5 days or freeze for up to 3 months. They taste even better the next day!